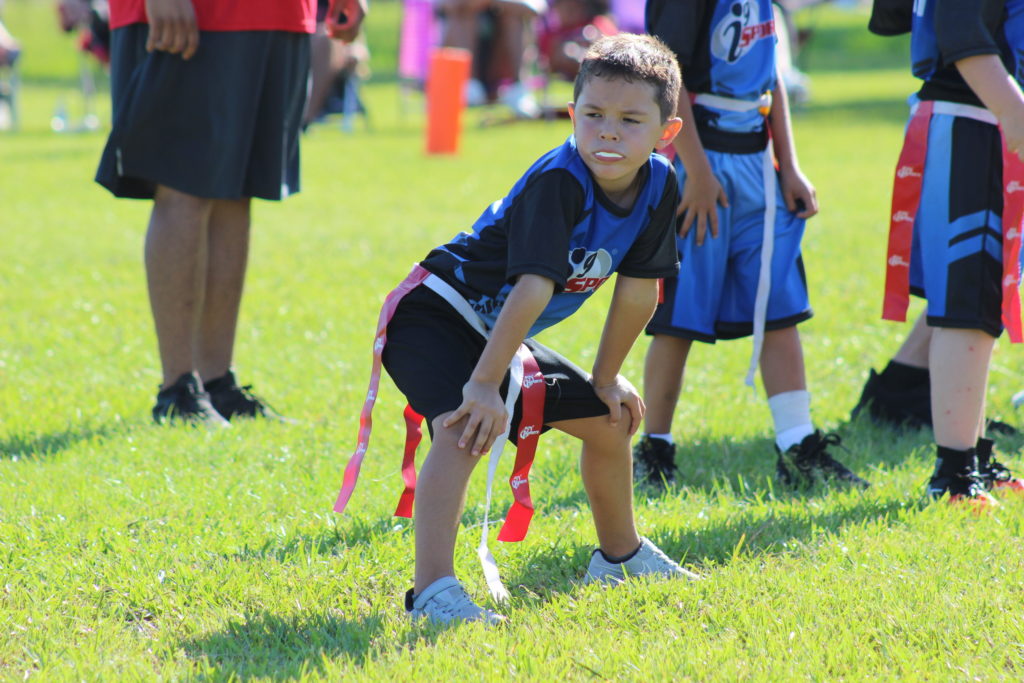
11 Tips for Photographing Your Child in Youth Sports
It’s a blast watching your child play youth sports! Whether they score the winning basket, hit their first home run, or block the goal like a champ, we know you couldn’t be more proud. Capturing these moments to look back on later is truly so special.
But with so much happening at once and the players moving quickly, it can be hard to get any decent shots. If you’re tired of snapping grainy, out-of-focus, moment-too-late photos, up your picture-taking game with these tips for photographing your child in youth sports.
1. Shoot Youth Sports in Bursts
In a fast-paced game, it’s impossible to know when to hit the shutter button. Snapping photos one after another increases the chance of capturing the perfect shot. Your phone may even have a burst mode, which takes multiple pictures per second that you can sift through later.
This allows you to capture your child making a touchdown or kicking a goal at just the right moment. Often, your phone will suggest the best picture for you. Next time while you are at the game, try burst mode to take home some amazing memories. That’s the beauty of digital photography—you can delete the photos that don’t work out.
2. For Youth Sports, Set the Focus First Rather than Using Autofocus
Autofocus is useful in most cases, but you want to customize the focus when photographing youth sports. To do this, simply tap on the screen to tell the camera where to focus. Remember to do this ahead of time so you’re not scrambling to focus and shoot during a fantastic play.
3. Turn Off the Flash for Sports Photography
Flash photography can distract the players, and it won’t make a difference if you’re outside or sitting a considerable distance away. Using the flash also makes the shutter take longer to close, resulting in blurry photos.
4. Take a Video and then Export Great Frames as Images
If you’re still struggling to snap photos at just the right moment, consider filming the action in 30-second increments. You can then go back later and export a frame from the video as a photograph. You might also shoot in slow-motion or make time-lapse videos to show your child after the game. Be sure to turn on video stabilization before you begin to reduce “shaky cam”.
5. Don’t Zoom in Too Far When Doing Sports Photography
Sometimes it’s safer to stay zoomed out. This way, you don’t miss anything important in the shot. Plus, zooming in too far can decrease the quality of the image, resulting in a graininess. You can always crop the photo later to enlarge and center the subject the way you want.
6. Get Your Angle Right for Great Sports Photos
Have you ever noticed that professional photographers shoot from the offensive side? Copy this tactic to increase the chance of capturing your child scoring the winning point. Remember to also position yourself on the player’s weak side. This means, if your athlete is right-handed, you should take photos from their left side. Shooting from a low angle rather than up in the bleachers also increases the chance of capturing a more dramatic shot.
7. Get Creative With Youth Sports Action Shots
Steal a few more tricks from the pros to take your photos to the next level. For instance, try panning the camera with the action while pressing the shutter button so the background takes on a streaked look. Then, use the panorama feature during a timeout to capture a 360-degree view of the stadium, players, and crowd enjoying the game.
8. Always Keep Your Camera Ready
Just because the play is over doesn’t mean your chance to snap a photo has ended. After all, you don’t want to miss the look of triumph on your athlete’s face after scoring a point or the fierce determination after missing a goal.
9. Capture Sports Moments & Memories Before and After the Game, Too
Not all photo-worthy moments are limited to gameplay. You can capture great emotions and candid moments between the coach and players during the pre-game warm-up. The post-game handshakes and high fives are also worth photographing to capture the sportsmanship that youth sports are all about. Plus, you’ll want to have your camera ready if your child is the sportsmanship medal winner!
10. Plan to Crop and Edit Your Kids Sports Photos Later
It’s tempting to look through your action shots right then and there, but you’ll miss out on the game and other potential photos if you look at your phone for too long. Don’t worry—you’ll have plenty of time to crop, straighten, and edit your pictures later.
11. For Good Sports Photos, Keep an Eye on Where the Sun is
Outdoor youth sports mean that you’re going to be taking pictures in all sorts of conditions. When the sun is right behind the players in the morning or afternoon, photos can turn out shadowed and dark. But then – maybe play with cool silhouetted shots of your child! Midday games will have harsh sunlight, so consider trying to focus on taking more pictures on cloudy days for less harsh lighting.
Now that you are an expert photographer, don’t forget to share your favorite moments with us on social media (Facebook, Instagram & Twitter links) using #i9playi9sports or submit your photos by emailing us at photos@i9sports.com! If you aren’t registered to play yet and you’re ready to enjoy a positive, stress-free experience for the whole family, learn more about our programs and find one near you today.
